 USB4Car
How to copy music from CDs to a USB stick
A shelf of CDs and a car with no CD slot — the most common music problem of the decade, and one of the most satisfying to solve. One afternoon of ripping turns a whole collection into a single stick that lives in the car. The software is free and already on your PC; you just need the right settings.
Guide checked and updated July 2026
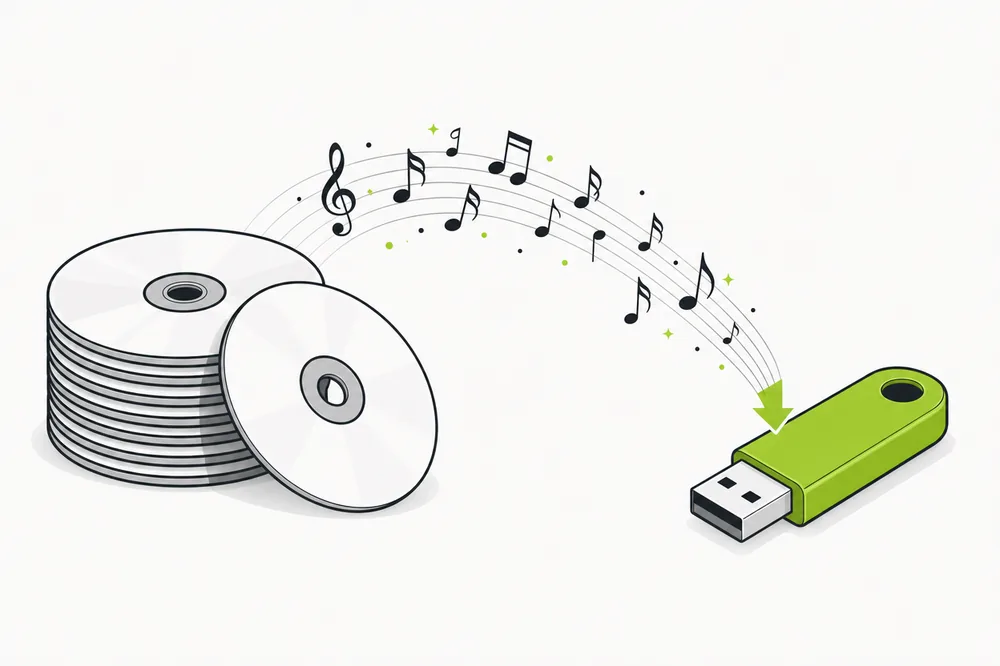
Rip each CD to MP3 on your computer (Windows Media Player does it free — set the rip format to MP3, 256 or 320 kbps, not the default WMA), then copy the resulting Artist → Album folders onto a FAT32 USB stick. A typical CD takes 3-5 minutes; the stick then plays in effectively any car.
Rip format settings, compared
The rip format decides whether the car can play the result — and it's the one setting people get wrong:
Older Windows Media Player versions default to WMA — the single biggest reason ripped CDs “don't work” in cars. Thirty seconds in the settings prevents hours of re-ripping.
The five things that make or break a CD-to-USB project
Learned the hard way by everyone who's done a full shelf:
1. The rip format — set MP3 before the first disc
Why it happens: Windows Media Player historically defaults to WMA, which many car radios silently skip. Rip fifty CDs in WMA and you get to do them all again.
✓ The fix: In Windows Media Player: Tools → Options → Rip Music → Format: MP3, quality 256 or 320 kbps. Set once, forget forever.
2. Track names — let the rip look them up
Why it happens: CDs don't store song titles; rippers fetch them online. Rip offline and you get Track01.mp3 through Track12.mp3 — unusable on a radio display.
✓ The fix: Stay connected while ripping and check the album info the ripper found before pressing Rip. Fix typos there, not in a hundred files later.
3. Compilations and multi-disc albums
Why it happens: “Various Artists” discs and Disc 1/2 sets scatter across the folder tree if you let them — the radio then shows the same album in five places.
✓ The fix: Keep compilations under a single Various Artists → Album folder and merge disc folders into one album folder — or let USB4Car's duplicate and metadata cleanup sort it out automatically.
4. No computer? The no-PC options, honestly rated
Why it happens: Standalone “CD to USB” recorder boxes exist and work, but they're slow (real-time or 2x), often rip without track names, and cost more than a decade-old laptop.
✓ The fix: Borrow any computer for an afternoon — it does a CD in minutes with proper names. A USB CD drive for a laptop costs about the same as one month of streaming.
5. After the rip: the stick still has rules
Why it happens: A perfect rip on an exFAT stick or buried five folders deep still won't play. The car-side requirements don't care where the music came from.
✓ The fix: FAT32 stick, Artist → Album layout, safe eject. USB4Car packages ripped albums for your exact car in one step.
Rip once — USB4Car does the rest.
Point USB4Car at your ripped music folder and it builds the car stick automatically: converts strays, repairs names, removes duplicate rips, lays out folders the way your radio browses them, and verifies every file.
CD collection to car stick, step by step
The efficient assembly line for a whole shelf:
- Set the rip format once: Windows Media Player → Tools → Options → Rip Music → MP3, 320 kbps. Turn on “Rip CD automatically” and “Eject after ripping”.
- Feed discs: insert, let it rip and eject itself, insert the next. Each disc takes 3-5 minutes; a shelf of 50 is a relaxed afternoon.
- Spot-check the Music folder afterwards: albums named correctly, no Track01 orphans, compilations in one place.
- Copy the ripped folders to a FAT32 USB stick (32 GB holds roughly 300-400 albums) and safely eject.
- Stick in the car's media port, source to USB — your CD shelf now lives behind the dashboard.
The cleanup step, automated.
Rips accumulate messes — doubled albums, missing tags, stray WMAs from the old default. USB4Car finds and fixes all of it while building the stick, and the free trial shows you the full list first.
Free trial shows every problem it would fix — no payment needed.
Related questions
How do I transfer music from a CD to a USB stick?
Two stages: rip the CD to MP3 files on a computer (Windows Media Player, free, 3-5 minutes per disc — set format to MP3 first), then copy those files to a FAT32-formatted USB stick like any other files. The stick then plays in virtually any car.
Can I copy a CD to USB without a computer?
Standalone CD-ripper boxes exist and work, but they're slow, often skip track names, and cost more than they're worth. Any borrowed laptop plus a $20 USB CD drive does the job faster and better. For a big collection, a computer is really the only sane route.
What quality should I rip CDs at for the car?
MP3 at 320 kbps. It's indistinguishable from the CD in a moving car, plays everywhere, and still fits ~4,000 songs on a 32 GB stick. Rip to FLAC only if you also want a perfect archive at home — then convert to MP3 for the stick.
Why won't my ripped CDs play in the car?
Almost always the old WMA default: Windows Media Player used to rip to WMA, which many car radios silently ignore. Re-rip as MP3, or point USB4Car at the folder — it converts WMA rips to car-friendly MP3 automatically.
Related guides
How to put music on a USB stick
The general loading guide — sources, formats and folder rules.
Read the guide →Best USB stick for car music
Which stick to buy for the freshly ripped collection.
Read the guide →“No compatible music files” error
Ripped, copied, and the car finds nothing? Usually the WMA trap — the fix.
Read the guide →Car only shows some songs
Half the rips play, half don't — mixed formats are the usual reason.
Read the guide →Ford USB music guide
SYNC systems and ripped CDs: Ford-specific formats and quirks.
Read the guide →